MacOS File Backups (Synology)
This article is intended for backups on a MacOS or OS X system that has a Synology NAS or RAID device within the network. If you require assistance with the setup please Contact us or, Request Remote Support Please note there will be service fees for customers who do not have a valid service contract.
Creating a Synology User
If you don't already have access as administrator, you will require administrative rights to add a new user to your synology. This document DOES NOT cover the setup or creation of user accounts. Please refer to Synology - Create User for more information.
Synology Drive Client
Synology drive client can be downloaded form your synology NAS. In order to download the synology drive client you can log into your synology drive and go to your package center (shown below):
- Open a browser and go to your synology address (we will use: 192.168.1.12)
- Log into your synology NAS as administrator
- Click on the start button, then find the "Package manager"
- Search for "Drive client"

Synology start menu
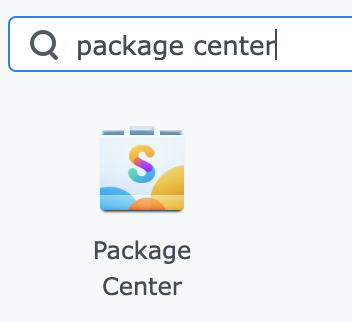
Synology Package Center Search
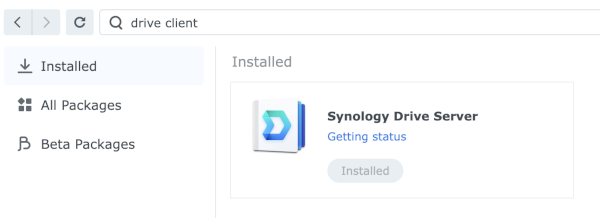
Synology Search for Drive Client
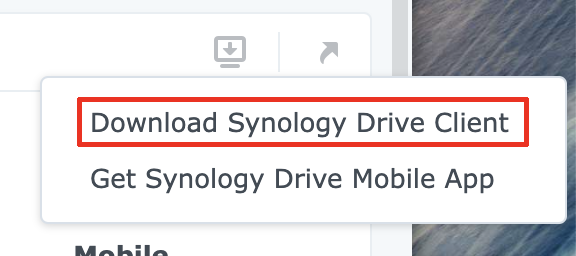
If at this time, drive client is not already installed -- please install it. After the installation is complete head over to the "Overview" section and locate the download button as shown below:

Drive client download button
A drop down will appear with two options. In this instance, we will be using the option that is already selected (red) for the end-point systems. In other documents we will be using the same steps to setup mobile backups (Android / iOS).
Drive client download button
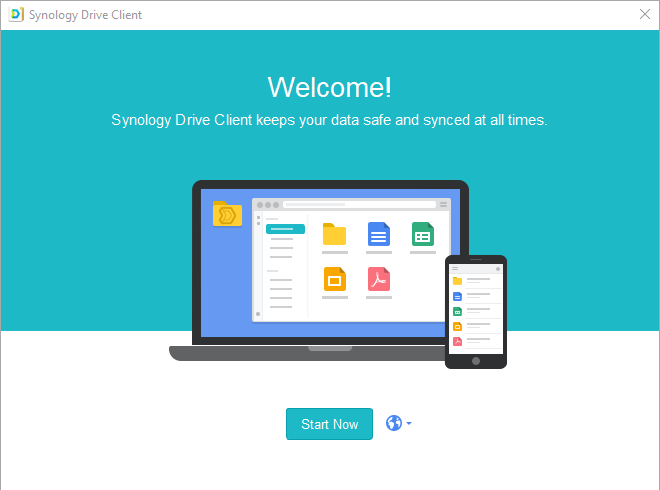
After the selection has been made (based on your browser and OS) the client will start to download. As of the writing of this document, the client for MacOS begins to download as we are creating this document from an Apple device. When the download starts, you should see the following:

Drive client download button
Once the download is complete, double-click on the dmg file in your downloads and begin the installation process. After the installation is complete you will need to select the paths where your most important data is stored. In our case and with most of our configurations we suggest the archival of the following locations:
- /Users/<yourname>/Documents/
- /Users/<yourname>/Desktop/
- /Users/<yourname>/Music/
- /Users/<yourname>/Pictures/
- /Users/<yourname>/Movies/
If your circumstances are a bit different or you provide different work from our normal customers you may also include those paths as well. This can include but not be limited to: development folders, garageband folders, visual studio, etc. You will have to choose or, discuss this with our tech when the deployed agent is being finalized / configured.
Drive Client Authentication
Drive client will require a user name and password in order to authenticate, sync and backup files. Without an authorized account you will be unable to backup your files. In addition to which, depending on the setup you have deployed you may be required to authenticate with the Google Authenticator or other authenticator app(s) you may have chosen and have deployed. Failure to configure these settings will result in files failing to backup.
Drive Client Setup
During the setup phase of your synology drive client, you will need to configure a few things. The type of backup and, the frequency. In most cases we setup the system to do a backup with continuous backups as files change (revisioning). To set this up, please follow the next set of instructions:
Drive client Setup
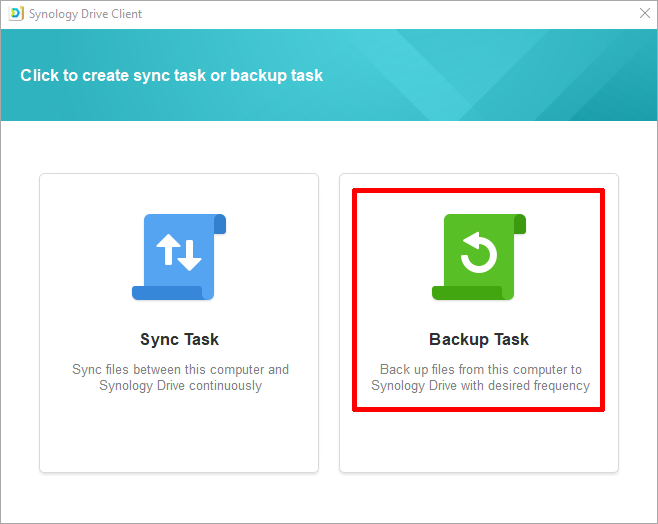
Drive client Backup Type
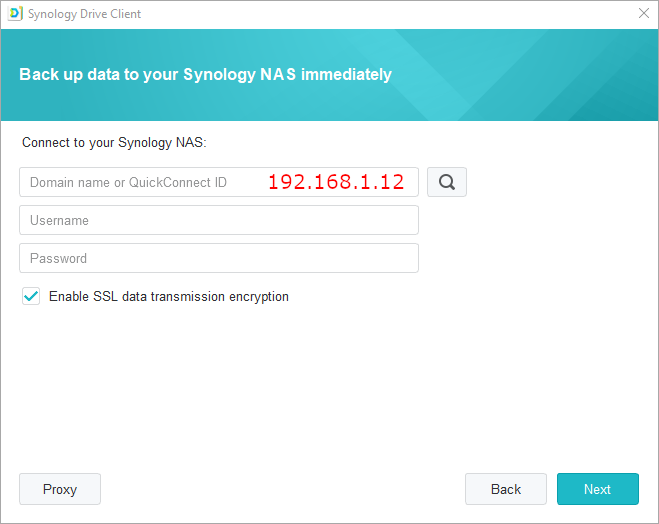
Drive client Authentication & Address
Please note that the quick connect address does not have to be your quick connect ID. It should be the address of your NAS as you are on the same network as explained in the introduction (192.168.1.12). Using your quick connect address can have some speed impacts. 1) it would be going outside the network to connect, 2) You will be affected by network congestion in the internet rather than your own LAN.
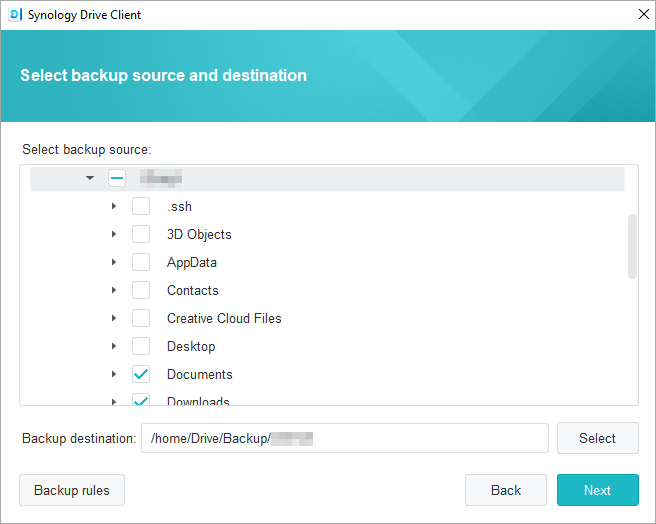
Drive client folder selection
As discussed previously you can select the default folder structure we have discussed in the beginning of this document or, you can select the ones that best match your interests and activities. Discussing this with your technician would greatly increase the chances of backup in the event of a disaster.
Post Installation
Once drive client has been installed and authenticated on your mac you may want to from time to time to change the backup folders, add new ones or relieve others from their current duties. In order to do this, on your mac you can search for "Drive client" in the finder as shown below:

Searching for drive client in spotlight.
Once the drive client is opened, you should see the following screen:
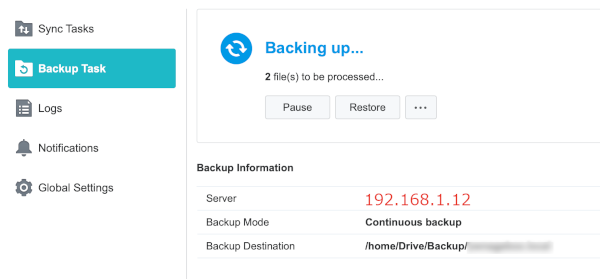
Drive client main window.
Please note the example has been exaggerated with the IP address that we used for our example. In addition to which, from this view you can also modify the backup paths with the "..." menu near the "Restore" button as shown below:
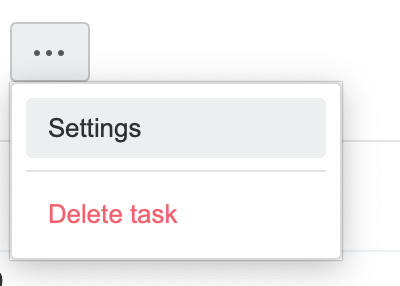
Drive Settings.
Once you click on the settings option, you can then configure the folders you'd like included or, you can also exclude certain folders as shown:
Within the settings there will be 3 tabs. Backup Source, Backup Mode and finally, Connection. Each tab will correspond to different features of the client. In source you can select which files and folders you'd like to have backed up, Mode contains the type of backup (manual, continuous, scheduled) and lastly the connection dicates how the application will connect to the synology NAS:
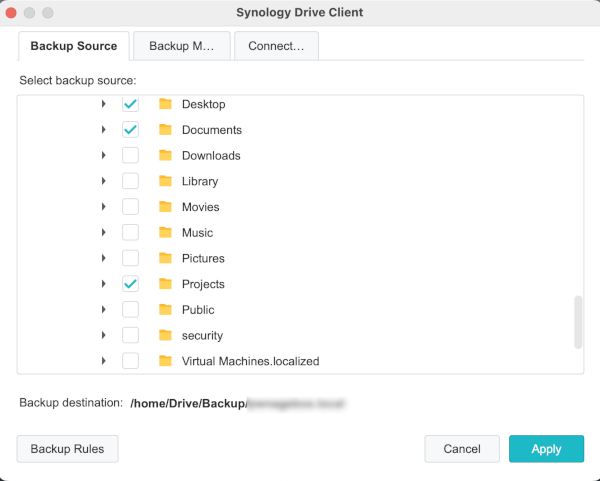
Drive Settings.