Mobile Backups (Android / iPhone)
This knowledge base article will cover both Android and iPhone mobile devices. Within this category the iPad and other mobile devices from Apple will also be covered (please note the steps would be identicle).
We will be covering and discussing a few packages that you can utilize to backup your devices and links to each will be provided so you can access them from Google Play and App Store.
Android Backups
Steps
- Open your app drawer and search for "Play Store"
- Once Play Store is open, search for "synology" (without the quotes)
If you are having trouble opening or finding your play store application please use the: Play Store link. To find all relevant links for synology please use the Play Store - Synology Search.
From this search we will be installing the following applications: Synology DS File this will allow you to browse your synology as well as provide photo backups.
To set this up we will install the application using the following photos provided as steps:
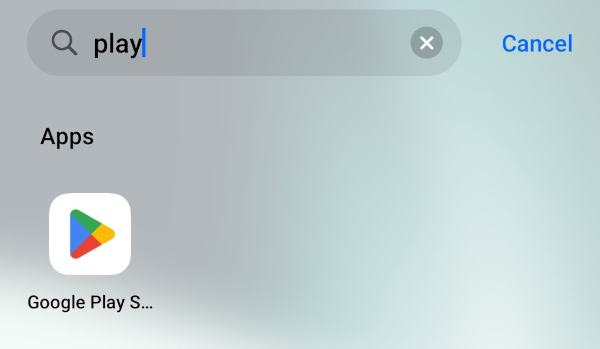
Searching / opening Play Store
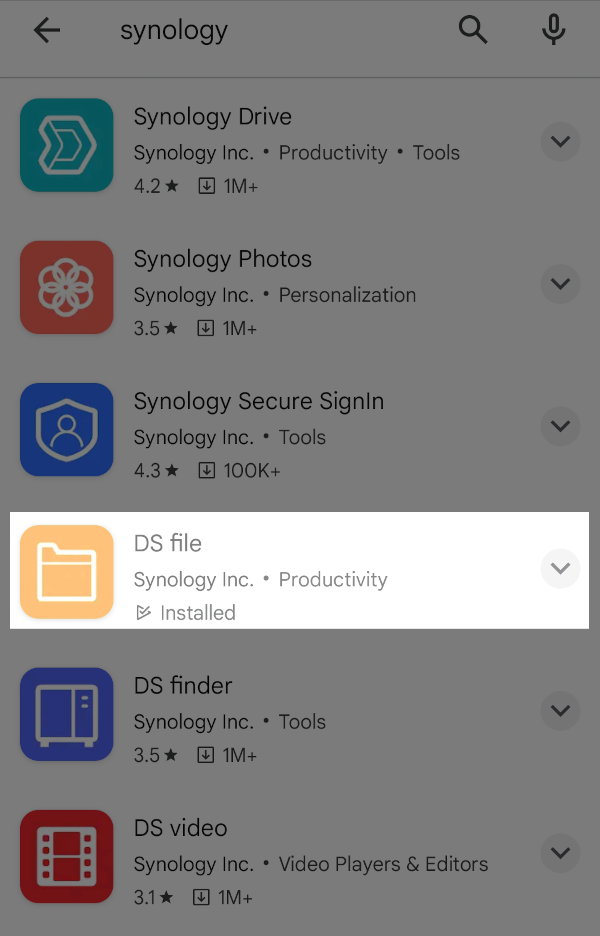
Play Store Synology Photo Backup
Once we have located the photo backup we can begin to configure it. Please make sure that your WiFi network is turned on and you are connected to your local area network via WiFi. Disregarding this step will cause the backup and sync to fail.
After you've downloaded the DS File from Synology, locate the file in your app drawer by searching or looking for the DS File application as shown below:
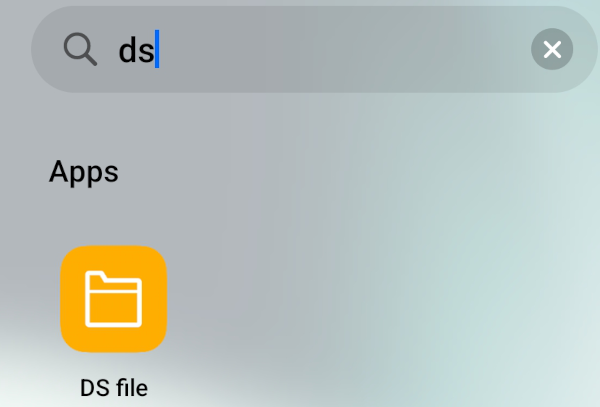
DS File Application in Android
Once you have located the DS File application, we will open it just like any other app by single-tapping on the icon. After the application opens, you will see the following screen:
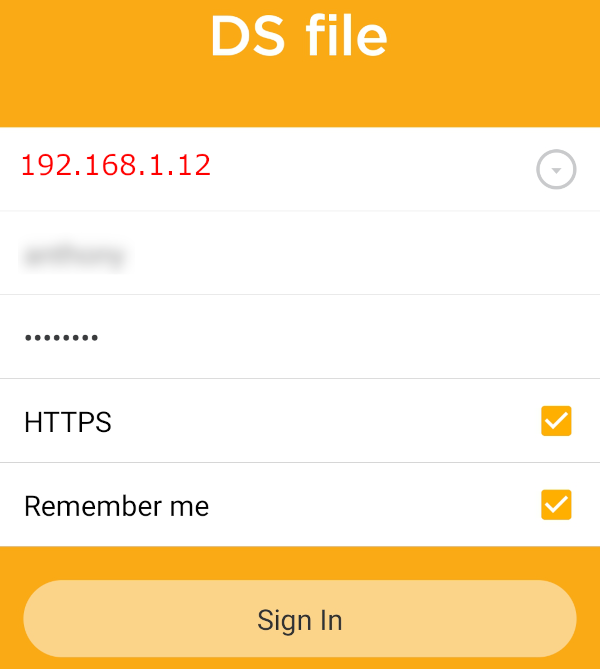
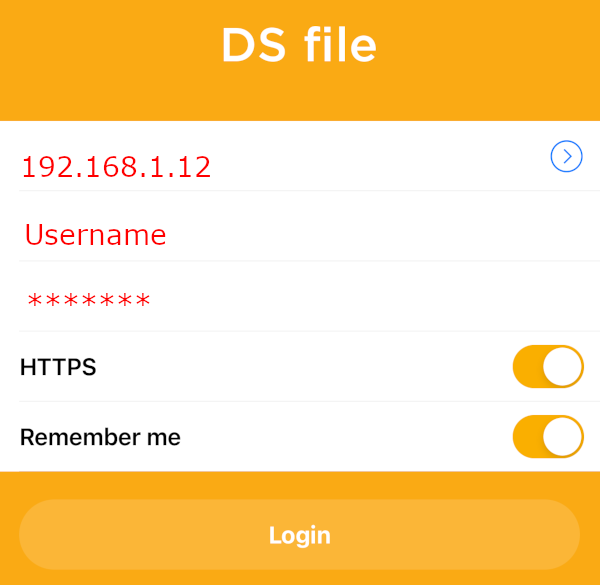
DS - File login screen
Please note that the example that we are using is utilizing an IP address that we have chosen at random which is 192.168.1.12 for the simplicity of these documents. Your Synology NAS can have any IP address. If you are unaware of your Synology address please use the Remote Support link. Please be aware, customers who do not have a valid service contract will be billed for the support request before connecting.
Once you have connected to the Synology NAS you must pick a location where you would like to backup your file(s) / Photos. For the sake of simplicity we advise providing the following directory structure:
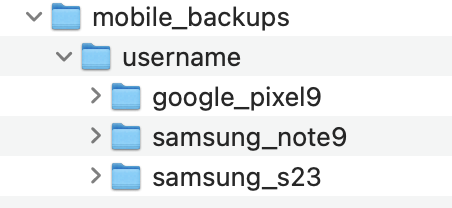
Synology Backup Folder Hierarchy
Using the following hierarchy in folder design will help you identify which phones your users have owned, where certain data may be and what is still being backedup. This hierarchy can become more granular depending on your needs however, this would be an ideal strategy.
Once all this has been setup and you've authenticated to your Synology NAS through the DS File app you will need to configure your photo backup.
We'll first start by accessing the hamburger menu on the top-left corner of the screen. The image below shows you where the menu can be located:
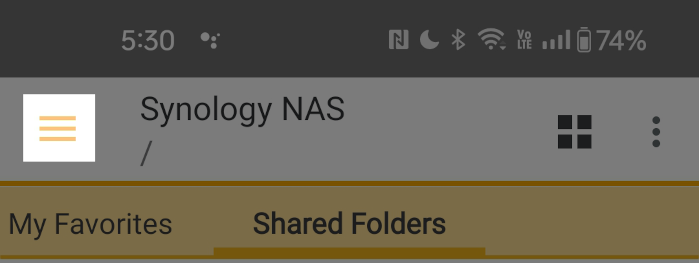
DS File Hamburger Menu
After locating and pressing on the icon, a menu will appear. Select "Photo Backup" as shown below:
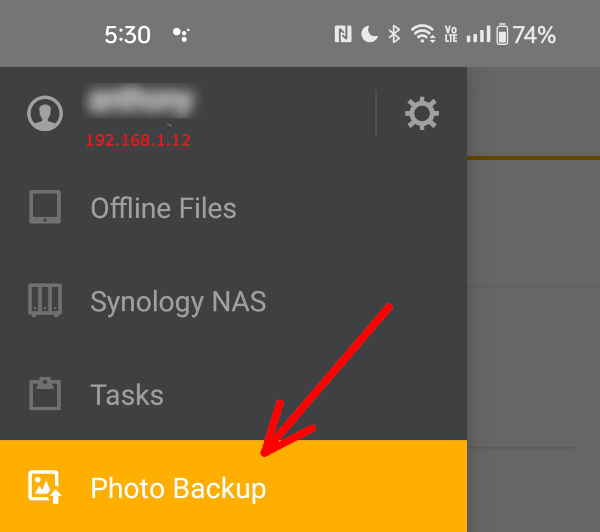
Photo backup menu
Selecting the "Photo Backup" option below will then open up the settings for the photobackup application. In this location, you will need to configure your backup destination. As we previously discussed, a hierarchy is worth establishing when you are backing up devices. You can see this from the screen shot(s) below:
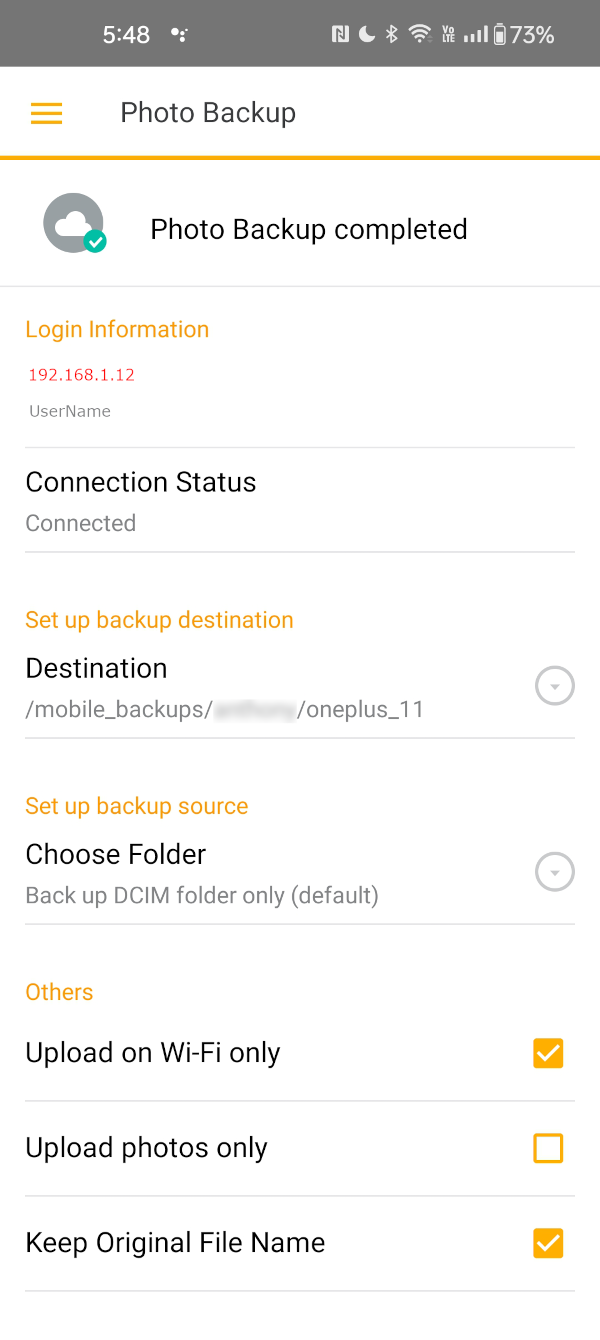
Photo backup Options
You may want to mirror the same options we have on the above image to make things easier. You can see from the example, we have our clients broken down by user name and the device they are using. Furthermore if you want to free up space on your device, you can opt-in to selecting the "Free up space" option all the way down on the bottom as shown below:
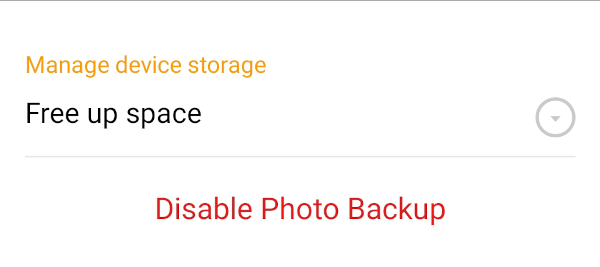
Free up space option
After selecting the "Free up space" option, you will see the following menu:
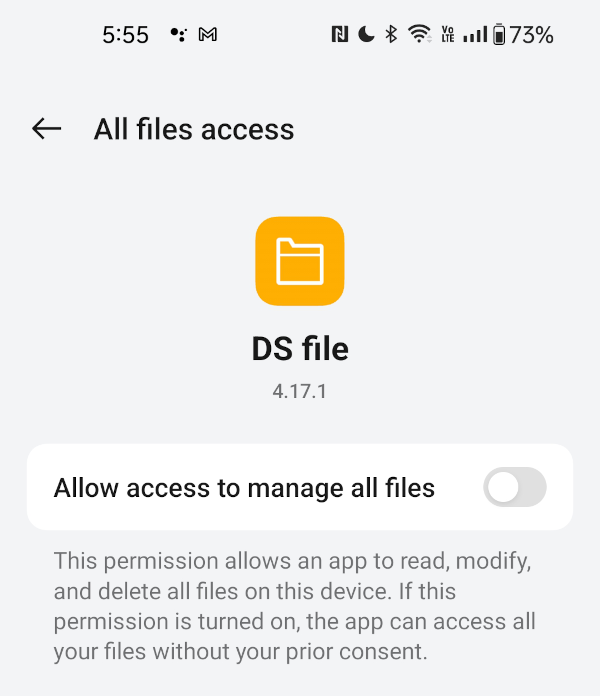
Free up space option
Once permissions have been granted, you may need to go back out of the option using the arrow on the top-left hand corner and go back into the "Free Up Space" option. Once you've navigated back to the option, you can then select the photos directory (that is on the phone) and then click on the "Clear" button that is shown below:
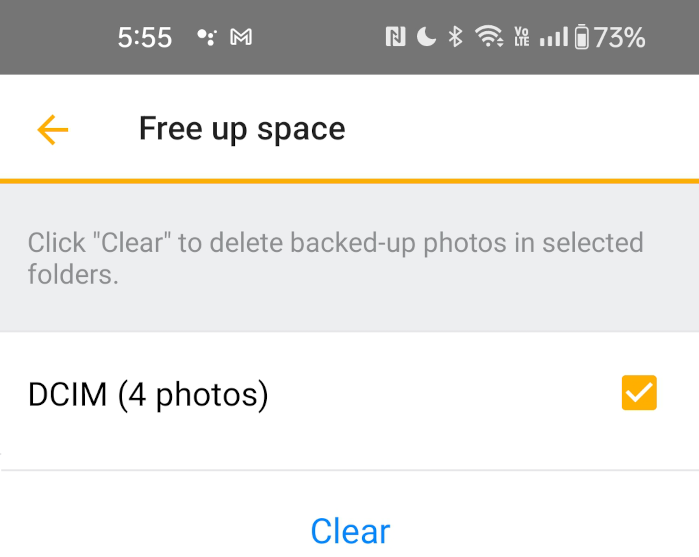
Free up space option
Apple iPhone & iOS / iPAD
On iPhone, iOS or iPad you will need to locate your App Store, locate DS File by Synology and install the application. Although we have the application already installed, the steps should be familiar to you to install from the App Store. To get started please follow the directions in the following screen shots:
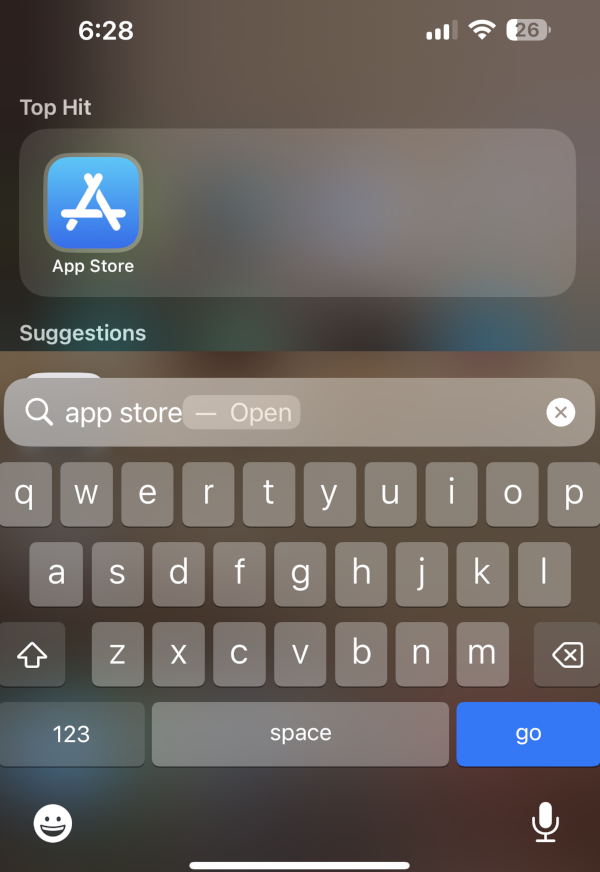
Finding iOS App Store

Locating the Synology DS File
After the application is downloaded, you will want to log into the DS File application and authenticate to your NAS.
Authenticating to Synology NAS with DS File
Once you've authenticated, you will then be able to select what backups you want to conduct. To do this, we will head over to the hamburger menu on the top-left hand side of the application and select it, once the menu opens we will then select the "Photo Backup" option and configure the backup software. The next set of screen shots will demonstrate how to perform these actions:

Synology DS File hamburger menu

Accessing Synology DS File photo backup
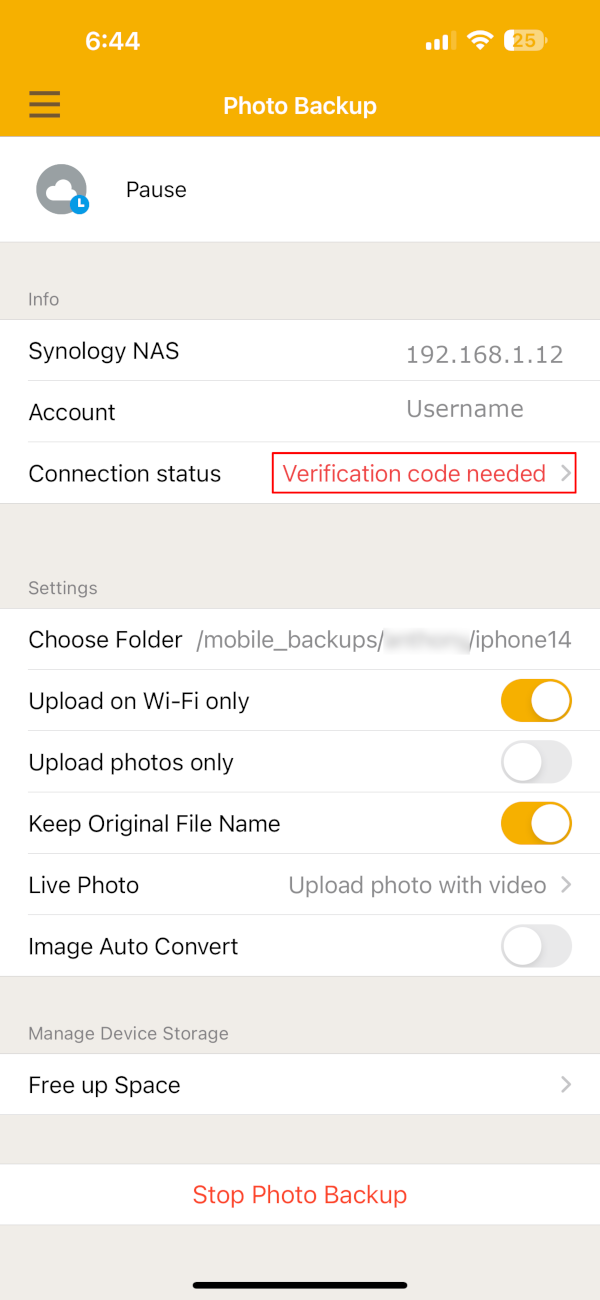
Authenticating to Synology NAS using Authenticator or Yubico key with DS File
If you see the above error in red, you will need to authenticate with your authentication method (yubico key, authenticator) in order to access the NAS. The following screen shot demonstrates this additional layer of authentication:
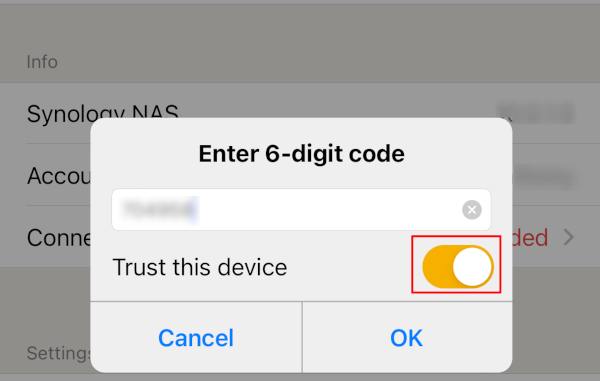
Authenticating to Synology NAS using Authenticator or Yubico key with DS File
Please note, if you are the sole owner of the mobile device you will want to check the "Trust this device" option in order to keep yourself authenticated without having to re-enter your code(s).
For the last stretch of configuration make sure you have the following options set in your DS File photo backup selected:
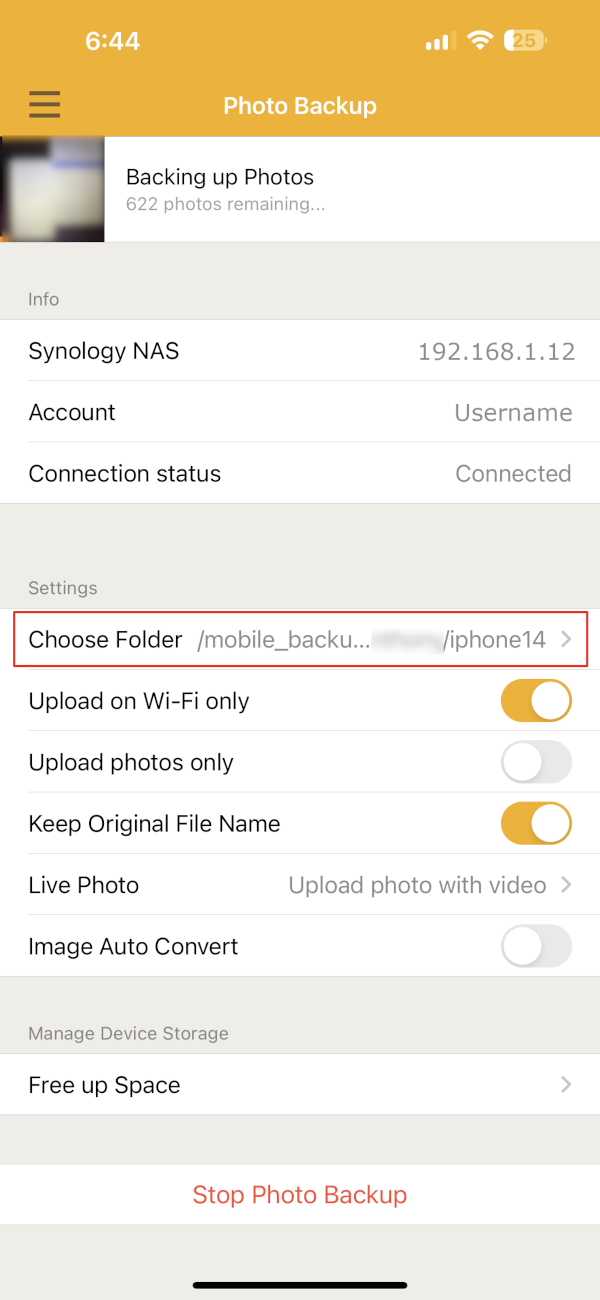
DS File options with an active backup taking place.
Make sure you have chosen a folder where you want your images backedup to and that you are keeping your setting similar to the ones displayed above.
If you want to save storage space on your device, please be aware you can use the Free up Space option in order to do this. By slecting this option you will see the following displayed:
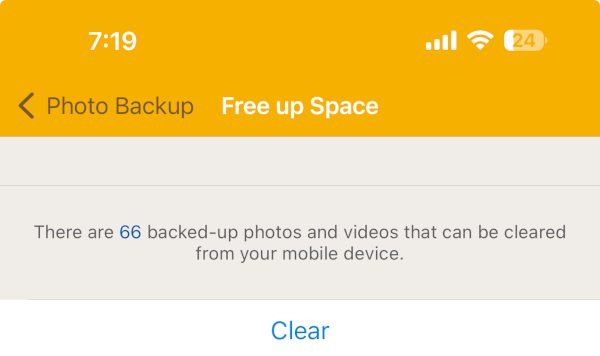
DS File options to clear items that have been backedup.