Pix!ti Support
For more information about purchasing the Pix!ti project, or information about the application please click on more information.
Please note that this project requires the .NET 4.0 library which can be downloaded by clicking here (http://www.microsoft.com/en-us/download/details.aspx?id=17851). If your application fails to run from your machine, please download the Library. The software has not been tested on windows XP and is not under support for windows XP. Using this software under windows XP does not guarantee successful operation.
Standard Mode
Once Pix!ti is extracted from it's archive, you should be able to launch the project (given you have the correct .net dependencies installed.) When you first execute Pix!ti you will see a loading window, followed by the application itself. Blow is an example of Pix!ti running on windows 7.
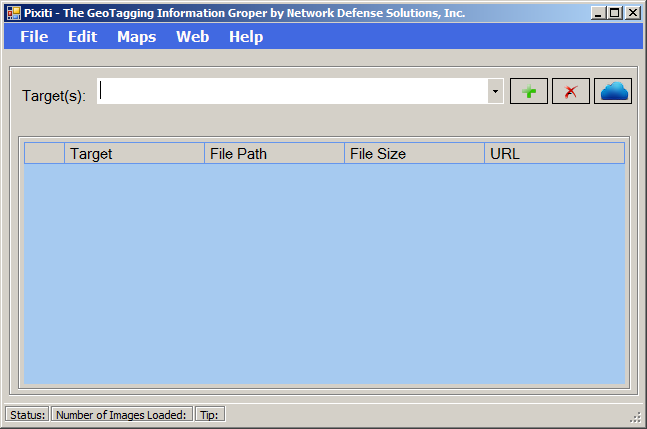
Within this mode, you can drag and drop images, from within a folder. There are other methods you can utilize for importing pictures into Pix!ti as we will discuss below.
Click on File > Open List and select a listing of photos that are in .txt format. (e.g: formatted information from a linux ls command, or dir command in windows to import.).
Ideally by clicking on File > Open Directory this option enables you to import all photos within a directory (does not perform directory searching. E.g: Will only pull files from C:\pictures and not C:\pictures\picture_set2\. Each directory must be specified for this to work properly.
The last method you may utilize to import a picture from a local machine is by clicking on File > Open Image File, and File > open image files.
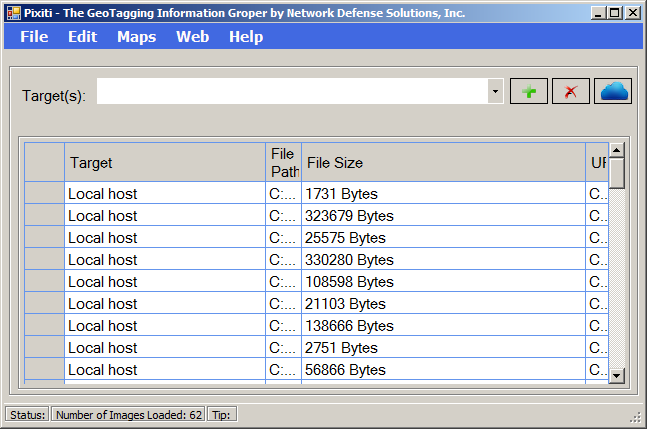
Once the images have been imported, you should see the application populate as it has in the diagram below:
Importing Photos From Social Media
To import all photos from a social media web site, you have the option to Browse and Grab or, Authorize web location. In either case, if the profile is public, you may provide the "browse and grab" method, however, if the images are behind a protected feature like on Facebook, you must first login using the "Authorize Web Location" navigate to the social media web location, insert your password and user name, and then browse the profile of the person you want to launch the information gathering process against. Please note that Network Defense Solutions, Inc. DOES NOT RECORD, RETAIN OR COPY PASSWORDS ENTERED INTO THIS SOFTWARE OR ANY SOFTWARE FOR USE BY SECOND OR THIRD PARTIES. YOUR INFORMATION WILL BE KEPT CONFIDENTIAL Once you have done this, you may then click on "Browse and Grab"
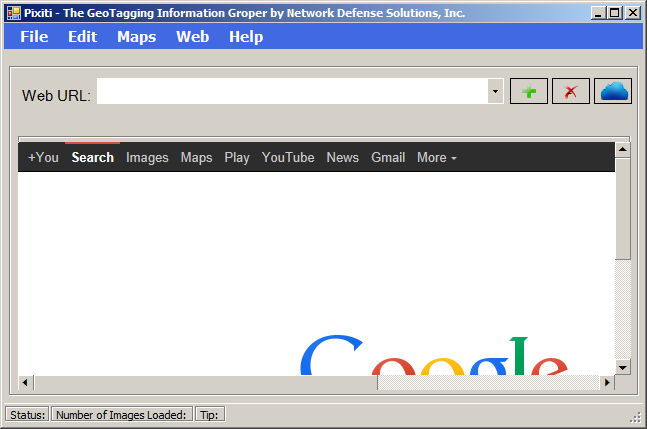
At this point you may utilize google, or your search engine of choice to navigate to any social network and pull the images from your, or someones photo listing to analyze. Once this is finished, Pix!ti will automatically obtain the images and display them for you.
Finding Image Data
When the images have been populated, loaded or obtained in any means in which you deem necessary you may then click on the Maps > Map All Data and you will see the following screen listing:
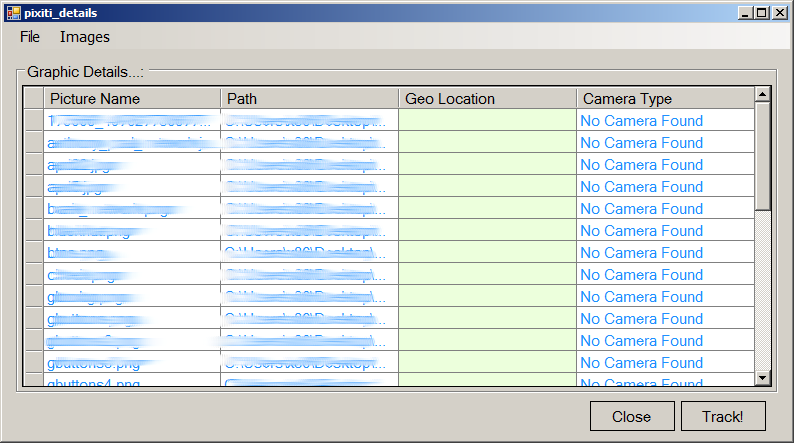
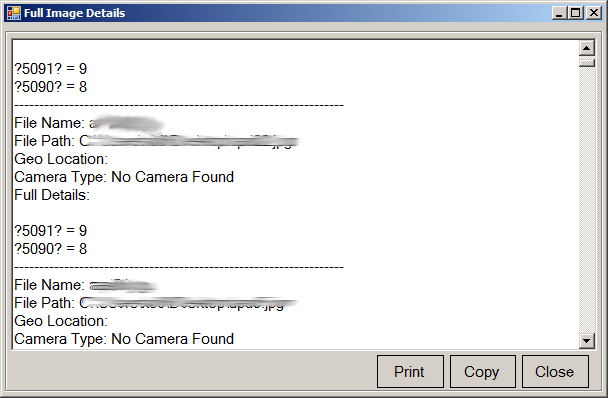
If geo tag information is found, it will be displayed in the light-green segment. You can then populate additional information by clicking on the Images > More Details segment which will bring up the following view: