Rebuilding a Volume After Disk Failure
This knowledge base article will help you with rebuilding a synology NAS that has been deployed in order to help safeguard your data. If you are unsure if we have deployed a NAS or RAID for your environment please contact us on our support page at: Service Inquiry and select the option: RAID / NAS - Data Backup & Disaster Recovery option and select the Rebuilding Failed Volume(s) option.
Before you begin, you will need to know where your RAID / NAS server address is configured. If you have a shared volume and, you are reaching that share based on an IP address (e.g: \\192.168.10.12 or smb://192.168.10.12) you can use those addresses within your web browser to access your RAID device. If you are unsure where the path resides, please contact us through the web form in the above or, you can call us directly: 347-586-9386 we will be glad to assist you.
If you are aware of the network path(s) and where your RAID / NAS device resides on your network, please open your browser by navigating to the address (in this case we are using 192.168.10.12 as our example IP) https://192.168.1.12:5001 and when prompted to login, please use the administrator login that was provided to you at the time of setup. Again, if you are unsure of what that information is -- please feel free to contact us.
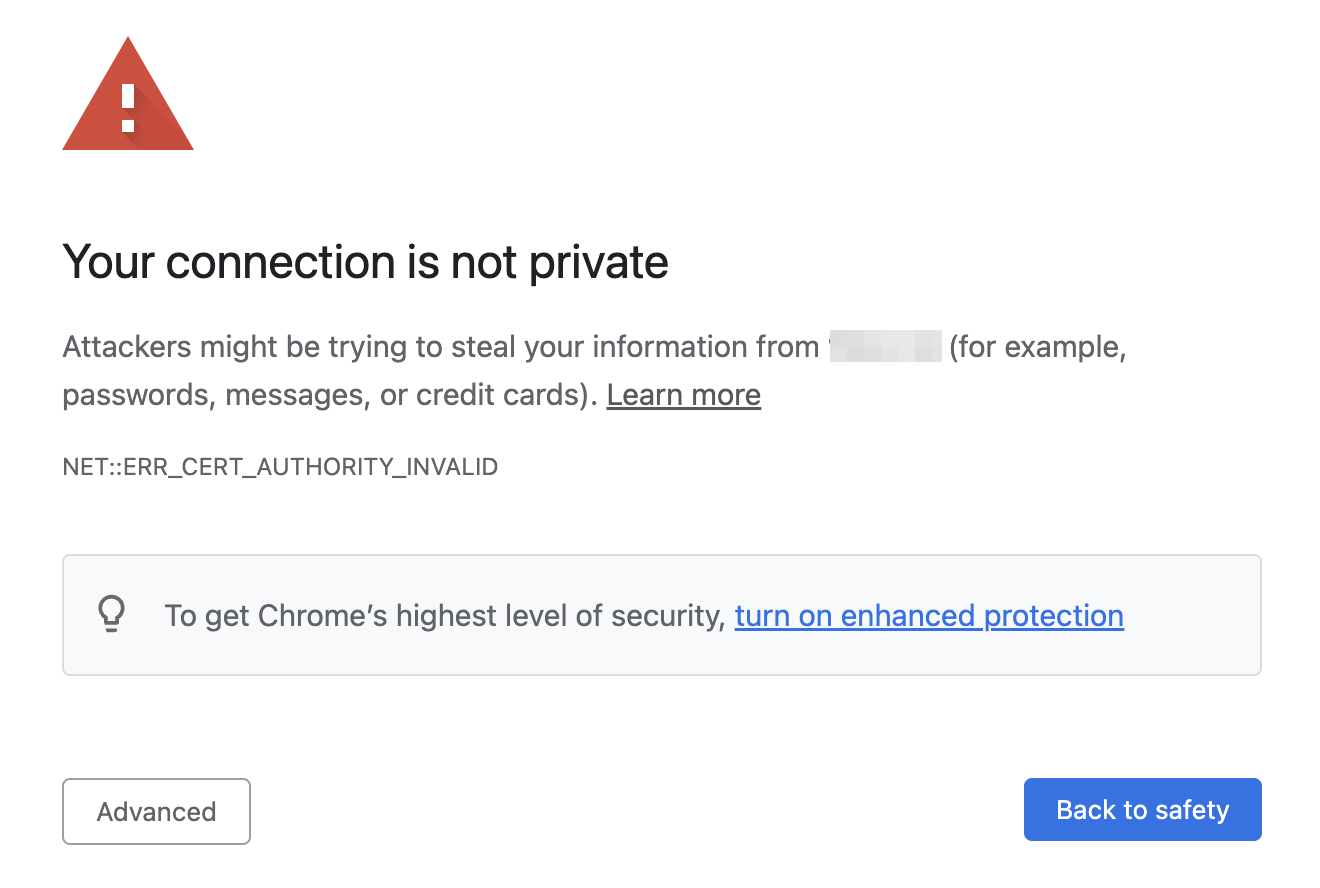
If you are in the right location, your login screen should appear as follows (or similar in looks):
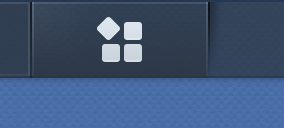
After you have logged in with your administrator account, left-click on the upper-left hand corner of the web site. The icon you will be clicking on will appear as follows:
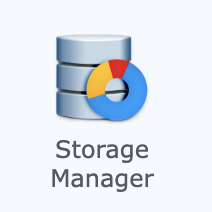
Once you click on this icon, look for the storage manager icon shown below:
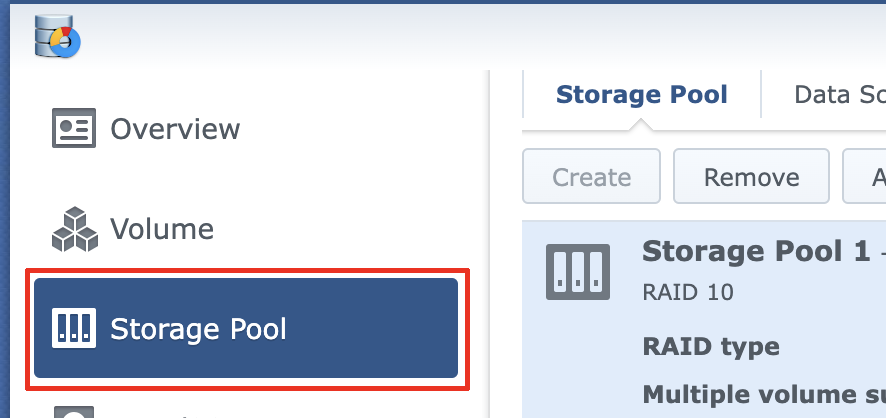
Next, once the new window appears. Please click on the "Storage Pool" option and, wait for the new menu to load.
Once the new menu populates, there will be options within the new window shown below. In your case, if a disk has failed healthy will not be shown. Instead, it will say Degraded.
If at this point you have identified the source of the error, you will need to remove the affected disks. If you have a side-by side 2 bay, please press near the bottom to allow the locking mechanism to pop out. If they are side-by side, you will press the far right-side to unlatch the drive holder.
Once the disk is removed, please replace the failed disk with a disk of the same size and reseat the new disk in the failed disks position.
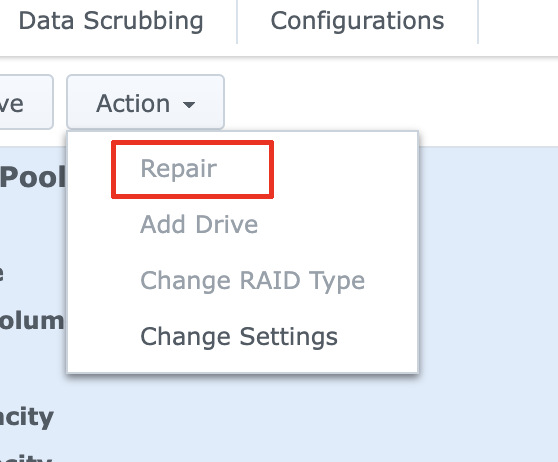
After the hard disk is replaced, heading back to the Synology login page and volume manager, we will then proceed to click the "Action" button and then, we will click on "Repair". The image blow shows these steps:
While the disk is being rebuilt, your sysnology will run through additional tests and re-configure the RAID. While this can take a long time, please contact us if you have any further questions or issues. For synology support, please see: Synology Support here you can also click on the live support. Please have your model and serial number ready.