MacOS / OS X Incident Response Script
Downloading
Before we begin, if you have downloaded or, purchased the scripts through the: Online Store, or: Apple IR scripts page please make sure that the scripts are in fact on the affected system as this guide will walk you through setting up and, executing the scripts to collect evidence.
Affected System
Deployment of the scripts can be done in a number of ways. VMDI / VDI (Virtual Machine Disk Image), Pen Drive or, SSHing the files into the system or, lastly dumping the files through a shared folder.
While the preferred method of deployment of the scripts and tools are geared more towards a USB drive the steps to setting up the scripts remain the same from both USB drive and, on a folder from within the host.
Setting up The Tools
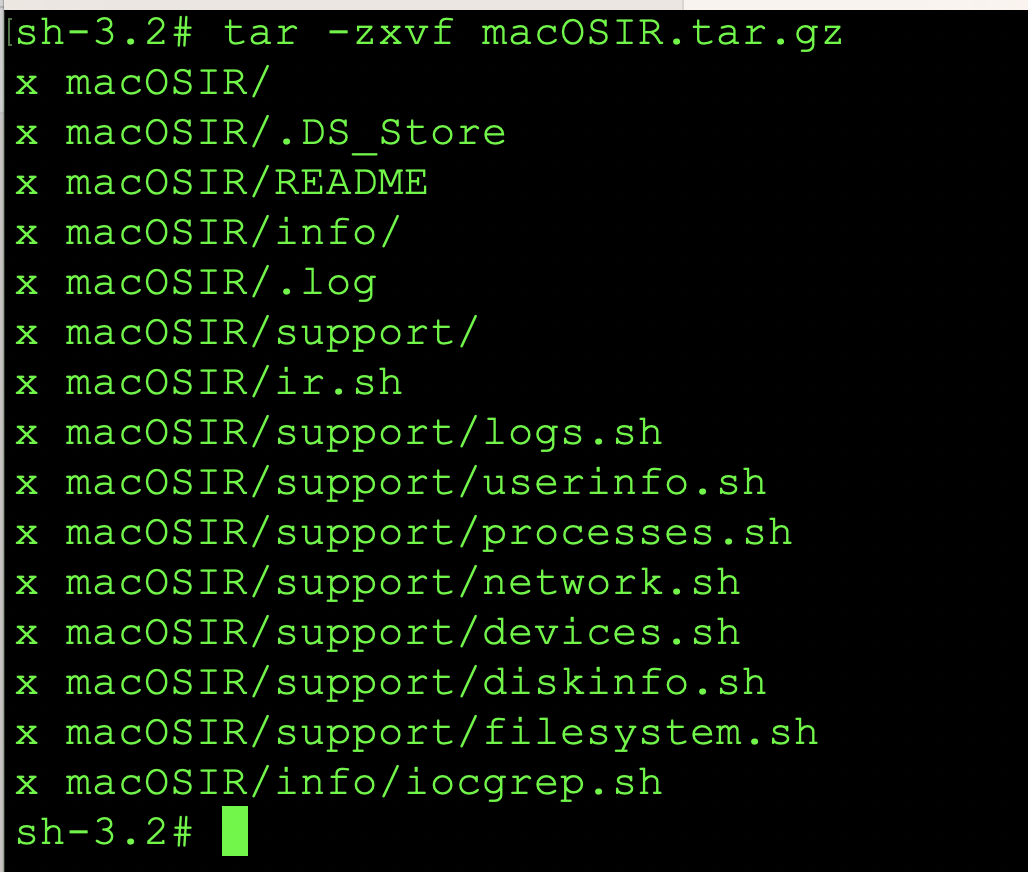
Once the tar.gz file is transferred to the affected system, please issue the tar -zxvf macOSIR.tar.gz command to decompress the archive. Once the archive is decompressed; enter the following commands: cd macOSIR (from the # designation at the bash terminal you can see we are unpacking as root).
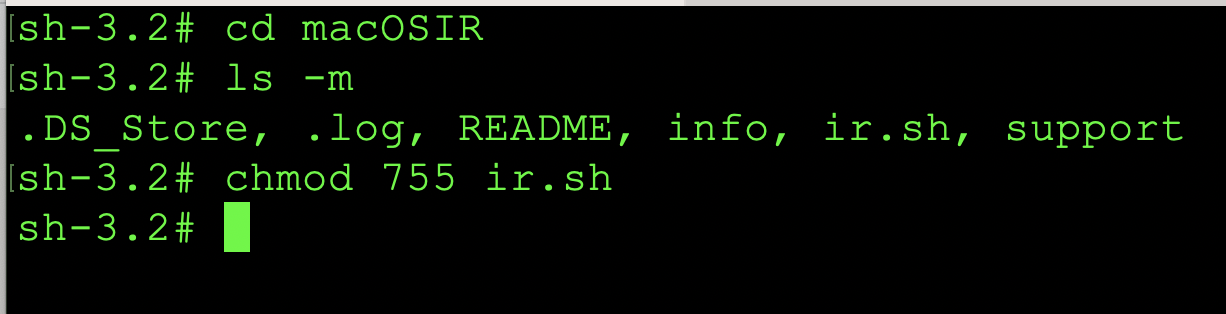
Now that the incident response scripts have been decompressed, we will chmod the files with the following command: chmod 755 ir.sh as shown in the image below:
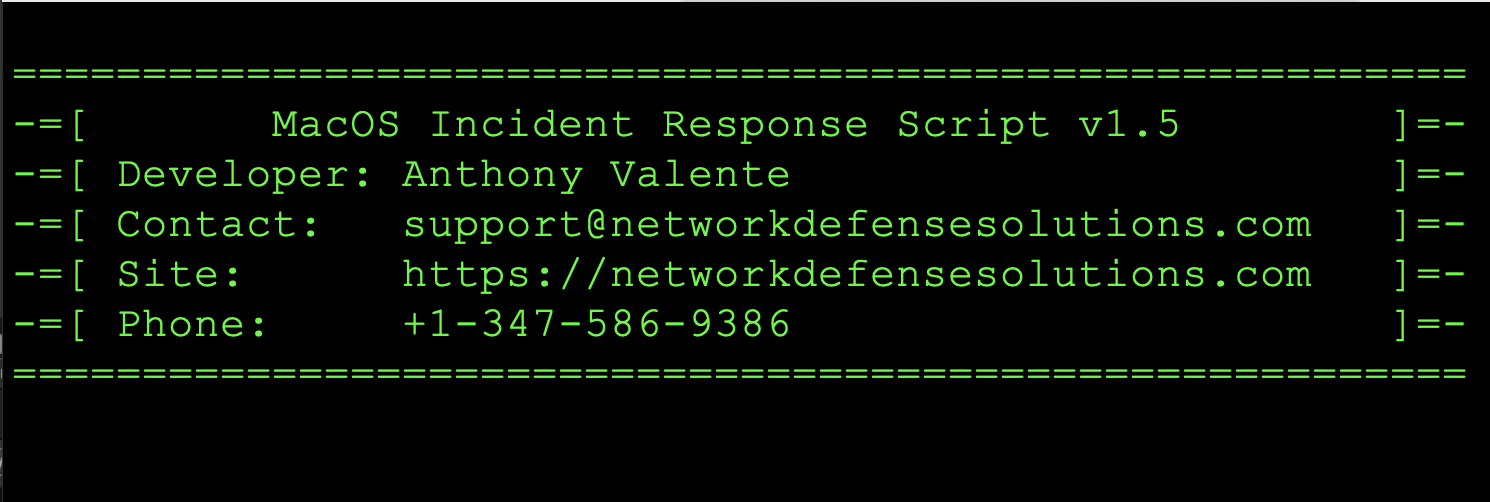
After those commands have been run, we can start the execution of the IR script with the following command(s): ./ir.sh or, we can issue the bash ir.sh command to start the incident response script(s). After execution is successful you should see the following banner:
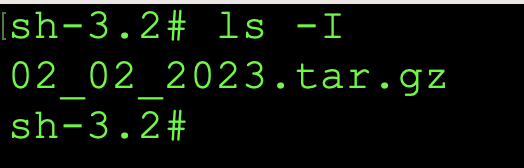
Once the incident response script has executed and completed successfully, you will see a tarball with the following format mm_dd_yyyy.tar.gz created within the directory you've executed the script. This is the full investigation for the system in question. Please see the image below:
Extending IR Tools
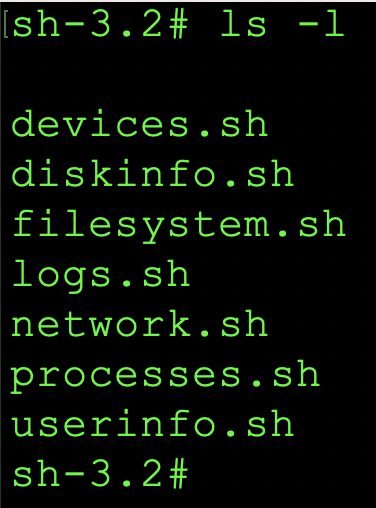
The directory support was designed to allow expandability of the scripts. For instance, if in the event you decide to add additional support for something that has not been included; you can simply script a new set of steps or scripts and place them within the support folder. The files within the support folder are named based on the function and information they provide. The graphic below demonstrates this:
Due to the open-source nature of the tools that are available for download, if you are going to expand on the tools please let us know so we can include your edits in the following releases!