File System Object Monitor
The main purpose of this tool is to notify you of what files have been created, modified, renamed, or deleted. This can help you when investigating malware and also help pull artifacts for analysis.
Please be aware that this tool is ONLY available for the Windows versions Vista and above. The tool(s) can be operated within virtual environments or on actual hosts.
Getting Started
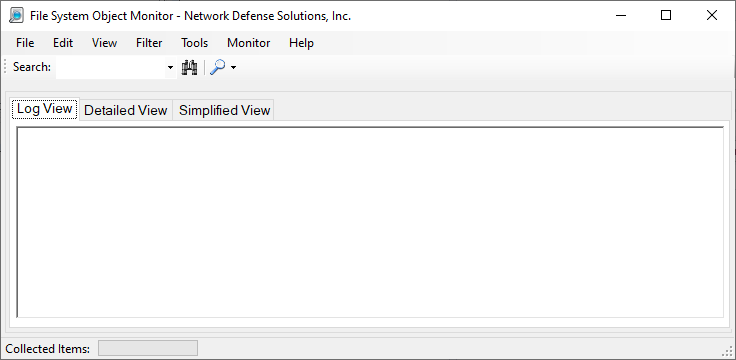
Once the tool has been purchased from: Malware Analysis Tools within our online store. You can execute the binary FSO.exe. Once the executable has been run, you will see the following screen below:
To start the process of scanning your system for file activity you can simply press on the magnifying glass drop-down menu and select "Start Monitor" (likewise if you'd like to stop the monitor, clicking on the "Stop Monitor" item will do this for you):
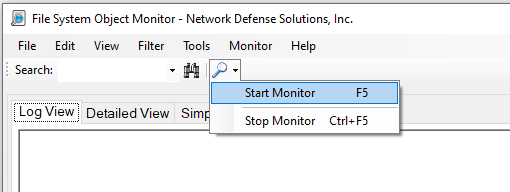
Ideally, you can also press the F5 key on the keyboard to start/stop monitoring. Whether you start / stop the monitoring process with the F5 key or the process shown above the application will start to monitor the system for file activity. File activity is grouped into 3 different views (all at the same time). The three views you have are:
- Log View
- Captures information in a log style that is text-only
- Detailed View
- Provides more information for monitoring and or forensics. This information includes location, file, action, result, hash and the date & time the event had taken place.
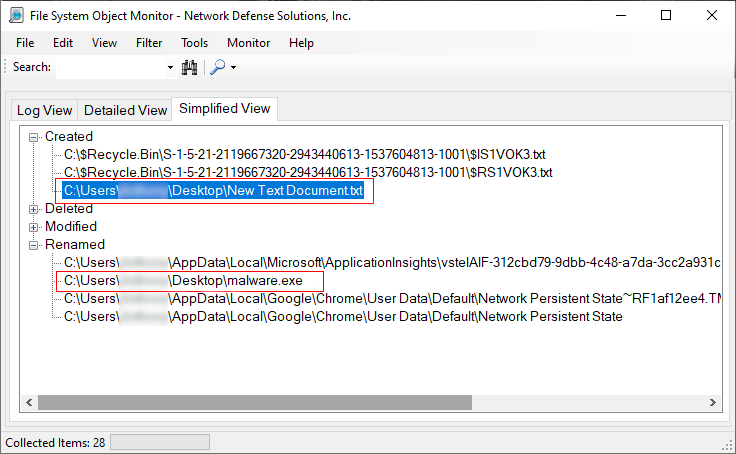
- Simplified View
- Displays the activity based on Created, Deleted, Modified, Renamed. Investigators can fan these activities down and search for artifacts in a treeview like fashion.
Extracting Evidence
While the application is malware-centric (meaning we are only concerned with files that can be malicious) the tool will only search for scripts or files/binaries such as executables, dlls or other files which may aid in a malware infection. Depending on the view you are currently utilizing, if you drop down the option box as shown below:
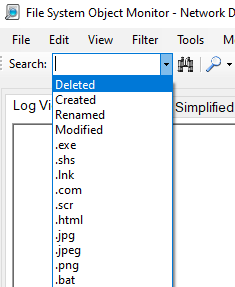
You can drill down to specified actions (deleted, created, modified, renamed) or, you can choose file types which may indicate malware activity on the system. Furthermore, depending on tab in which you are currently working within -- you may see varying results such as:
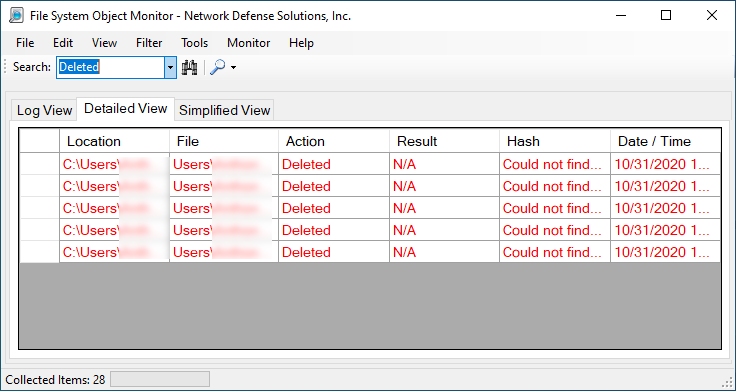

Although not shown, modified files are also part of the group. If in the event you need to extract information there are options available for you to utilize. Before doing do and or running the application you should be aware that the default is MD5 hash calculations on files that are created, modified and renamed. Deleted files are not calculated for obvious reasons.
Collecting Evidence
Once the program is run you can review the information that is present to you in either the detailed or simplified view. We normally utilize the detailed and simplified views to make it easier during an investigation. Below we are going to expand on Created and, Renamed. Here we see a text file is created, and then if we look carefully we can see that the file malware.exe is also created:
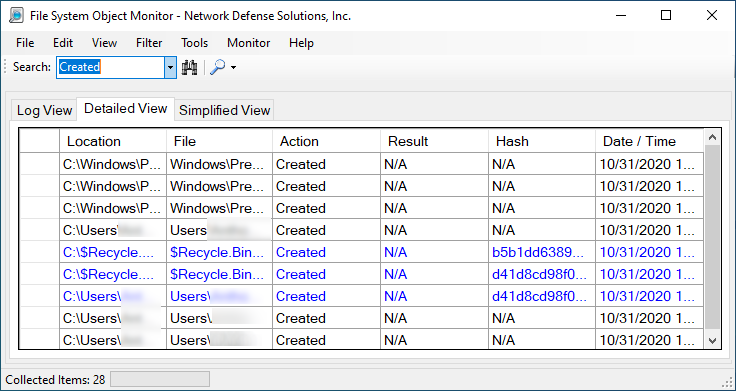
If we go back to the "Detailed View" we can then use the search filter as shown below to filter out executable files that potentially have been downloaded, created or loaded into the system:
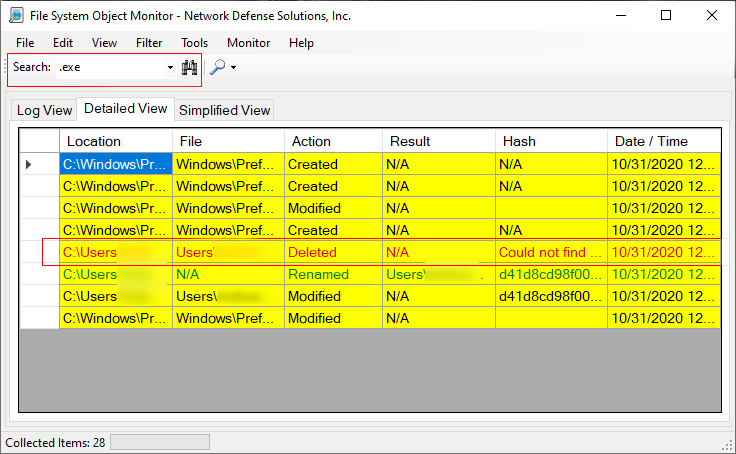
At this point, we see some interesting information in which we can include within our investigation, although the created EXE. We can find the Executable and export it. In the last view, considering we know the name we can hunt the malware by it's name. Here you can see not only did we find the file name, but in subsequent slides we can export it as evidence:
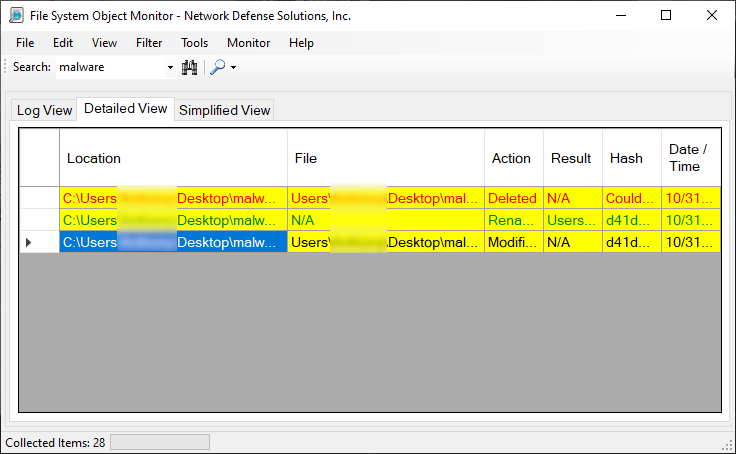
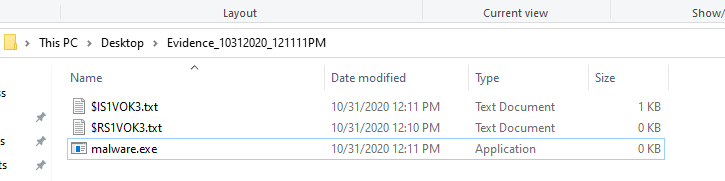
If we need to export the file, we can click in tools -> pull marked files as evidence. This will pull all the files that are suspicious or marked by the application as malware or potential malware and put them in an investigation folder on the desktop:

Additionally, depending on your configuration files (which we will explain on later) you can configure the SIEM you are working with and have the monitor produce the searches for you.
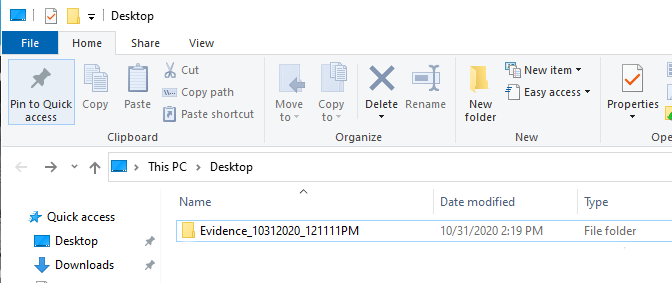
Once you have pulled the marked files, you will see on the desktop the folder created "evidence_" followed by the date and time of which the investigation had occurred. The screen shot below shows both the desktop as well as the contents of the investigation folder:
More so, if an analyst needs to print the contents of the scan. He or she can utilize the File option and choose how they would like to save the events. Please note that when saving events in excel you may need some other applications installed to assist with creating the Excel file(s).