Apple Time Machine Setup & Troubleshooting
Setting up backups for time machine on MacOS can be a straight forward task with a synology NAS. Before you begin to connect time machine to your mac and enable backups you will need to be on the same network, and connected and or authenticated to the NAS. If you require remote support for the setup of your synology NAS please Contact us or, Request Remote Support Please note there will be service fees for customers who do not have a valid service contract.
Setting up Time Machine on Synology
Before we enable time machine backups, we need to first setup the Synology NAS that we have in our environment to accept, store and catalog backups. Please note that each mac in your environment should have it's own folder associated with it's time machine backup!
Log into your synology nas using the address provided to you through the software or with the address configured by yourself or administrator.
Once you've logged into the Synology disk station please follow the next steps to set up a share path for backups.
- Click on your start menu in the synology disk station manager.
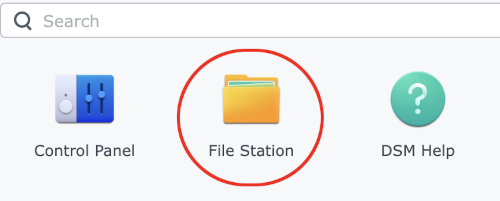
- Locate your "File Station" icon and click it.
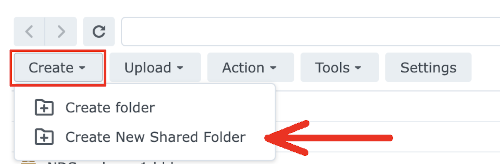
- Locate the "Create" button at the top and select "Create New Share Folder"
The following images will demonstrate the steps highlighted in the previous 3 bullet points:

Synology start menu (top-left)
Synology File station menu
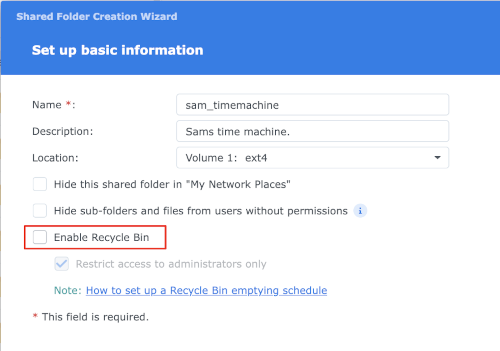
File station share folder creation.
Synology file share.
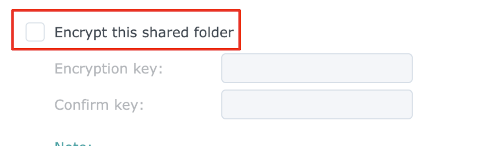
Do not select the encryption option. This is not needed.
At this point, clicking the "next" button as all the defaults will be selected. This menu will also prohibit you from making any other selection(s) as they are greyed out. Once the "Next" is clicked, the overview of the options selected and the share will be created.
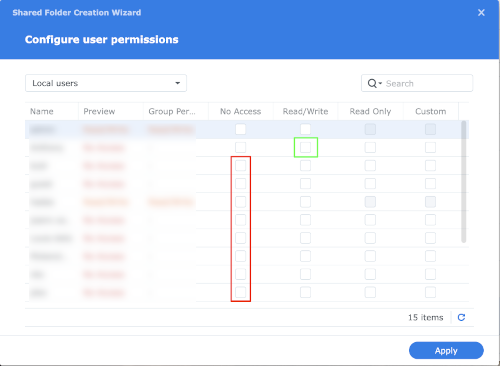
Finally, you will see a listing of users and access rights the selected user should have to the folder(s) you have created for the backups. Please note that access should be granted to a single user on a single mac and no other users should share the same folder. The settings should be set as follows (green indicating access for the particular user profile and red indicating no access):
Do not select the encryption option. This is not needed.
After these settings have been configured, the directory is now available for time machine to perform backups.
Connecting a Mac to Synology
This documentation is being written for MacOS Sonoma and up. If anything should change from the time this help document is created, the information will be updated. If you are not on Sonoma please update to the latest version of MacOS. First, lets begin by performing the following action(s):
- Press the Apple key ⌘ and then press the spacebar.
- In the spotlight search, enter: System Settings and press enter.
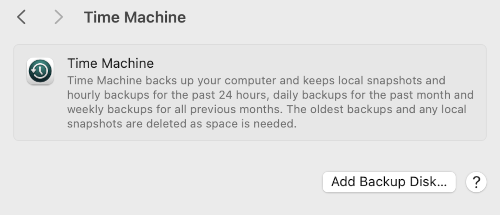
- In system settings, enter Time Machine
From the settings in the above, you should have followed the following steps:

Spotlight search for MacOS Settings.

Settings searching for time machine
Once the time machine menu in the system settings have come up, the next step you will execute is "Add Backup Disk..." and then you will select your disk:
Add disk menu.
Once you have these options available, you can click on the "Add bacup disk...". If you do not see this option, please issue the ⌘+K and enter: smb://timemachine.nas.ip.address. into the window and press enter. If you don't see the menu, make sure you go back to finder and issue the command again. If done correctly you should see:
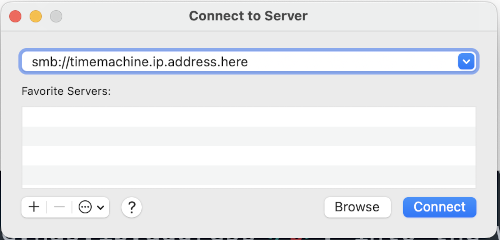
Connecting to Synology through finder with SMB.
Once you click on the "Connect" button, you will be asked for your user name and password if this has been setup. Please select the following options as seen in the image below:
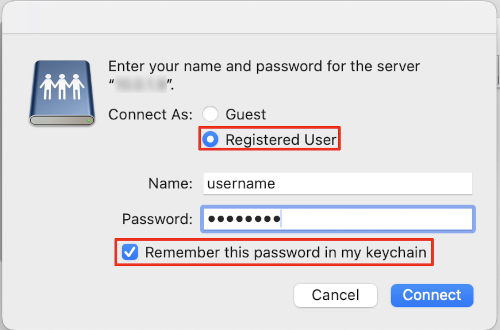
Connecting to Synology through finder with SMB User name - password.
Please note that the information in the above must contain your user name and password, the highlighted portions are areas in which you should enter in order to allow time machine to see your share.
Going back to the previous example, if you go back to the time machine option, you can now click on the "Add Backup Disk..." If things are working correctly, you should see the following:
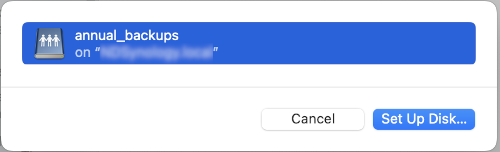
Saving to a location on the Synology NAS